
Butterfly Kisses KAL | 7 Lesson Series
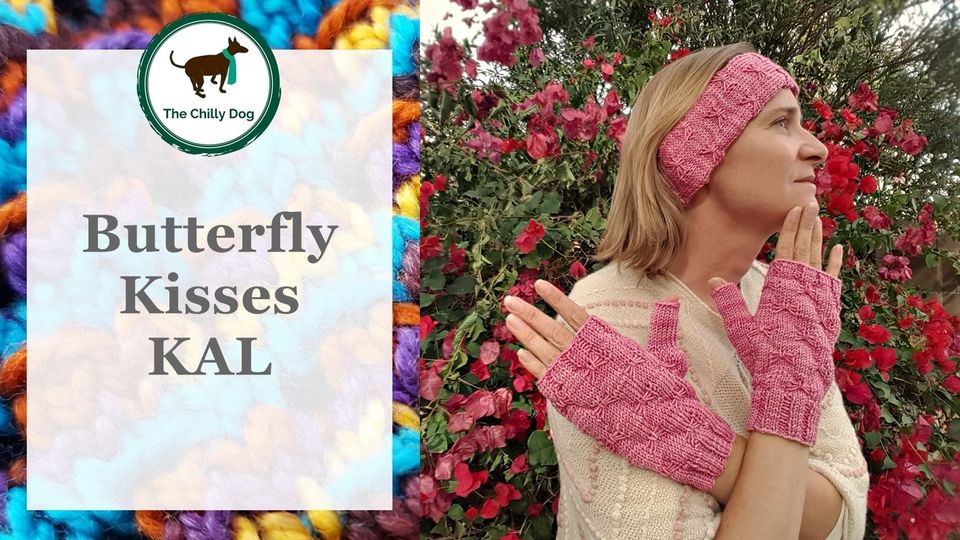
The Butterfly Kisses KAL may be over, but the pattern and instructional resources are still available for your knitting pleasure. Knit it on your own or gather with a group of friends to encourage and support each other as you work.
Pattern: Butterfly Kisses
Featured Yarn: HiKoo Sueño Tonal
Featured Needles: skacel by addi Bamboo Double Point Needles
There's more to explore in the Learning Library!