Many sock knitters prefer the idea of afterthought heels because they allow you to knit your entire sock in the round. They can be used in either top down or toe up socks and there's no need to fuss with heel flaps, gussets, short rows or heel turns. The heel is added after the rest of the sock is complete.
Thanks to Skacel for providing the yarn and addi needles used in this tutorial. These products are available locally at many yarn shops and online at Makers' Mercantile.
Before You Begin
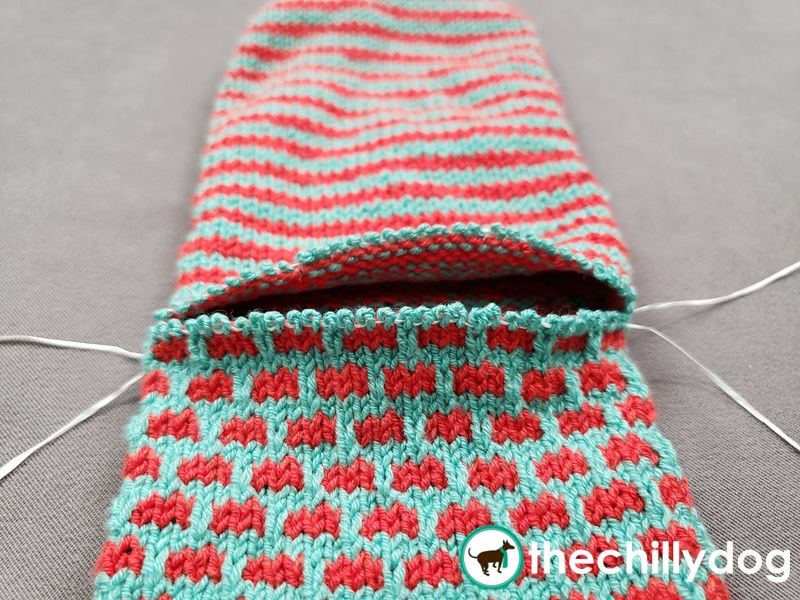
There are three critical steps in the creation of an afterthought heel - the heel set-up, opening up the heel and returning stitches to your knitting needles and minimizing the gaps at the sides of the heel.
The heel set-up involves knitting a piece of waste yarn into the sock to mark the heel placement. Inserting lifelines into the row of stitches on either side of the waste yarn stitches isn't required, but it sure makes life easier later when you are ready to start knitting the heel.
After the rest of the sock is complete, the waste yarn stitches are removed and the stitches on either side are placed onto knitting needles.
Finally, you knit the heel in the round and the shaping is often similar to the toe. The big problem here is in the first round of stitches. Afterthought heels are naturally prone to gaps and holes at the sides of the first round, but there are steps you can take to neaten things up.
Materials
- Cobasi by HiKoo Yarn
- addi FlexiFlip Needles
- 2-3 yds of waste yarn
- dental floss
- tapestry needle
- cable needles
Afterthought Heels Made Easier and Neater
Recommended Pattern
Ready to try this technique in a pattern? The 1 Sock, 2 Sock, Red Sock, Blue Sock Pattern has videos to help you learn more about:
- Longtail Thumb Cast On
- Which Way to Slip a Stitch (Knitwise or Purlwise)
- Alternating Two Round Stripes
- Afterthought Heels Made Easier and Neater
- Purl Side Kitchener Stitch