Design it Yourself Sweater Project | Step 2

– 3 min read
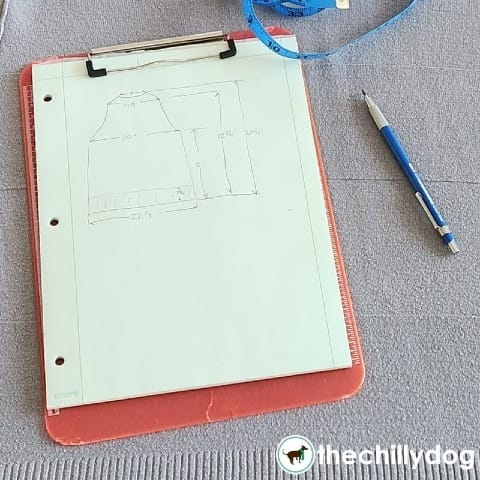
In the last step, I took a critical look at my template sweater and made a list of characteristics and construction concerns. Now it's time to draft an actual plan I can follow as I knit. I like to start by taking some measurements and sketching out my template. Keep in mind, the design process is iterative. We are going to use our initial sketches and measurements as a guide to help us understand each piece of the sweater.
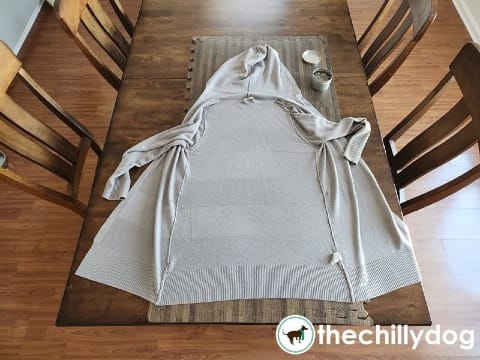
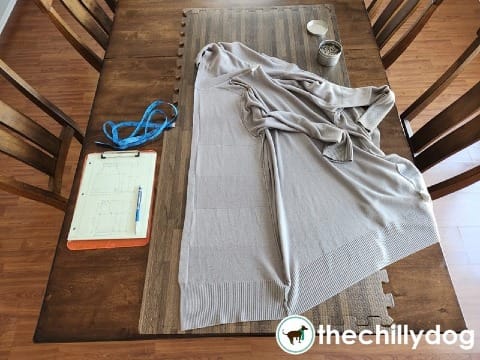
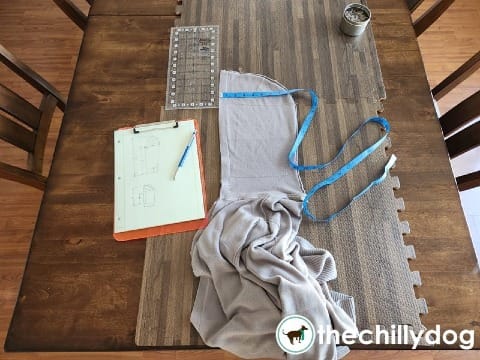
When measuring, I find it most comfortable to work on a large table or counter. I place my blocking mats on the surface, turn my sweater template inside out so it lays flatter and I can account for the seams, and pin each piece into place. I'm starting with the back of my sweater.
Plan B - If you don't have blocking mats, you could use a large, thick, folded blanket or lay your work on a bed.
Next I draw a quick sketch of the piece and take some measurements. At this point I'm primarily looking at horizontal widths and vertical lengths. I don't stress too much about armhole curves. I'll look at them more closely later. Right now I just want a broad understanding of the piece's geometry.
After sketching and measuring the back, I continue with the remaining pieces. Here's my set-up to measure the sweater front. Since the left front is just the mirror of the right front, I'm only sketching and measuring one side.
Again, I focus primarily on horizontal and vertical measurements.
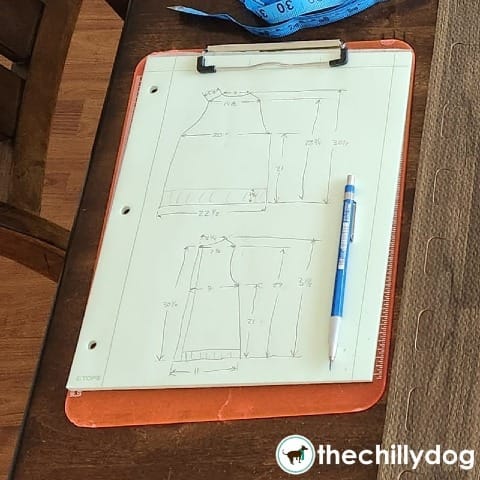
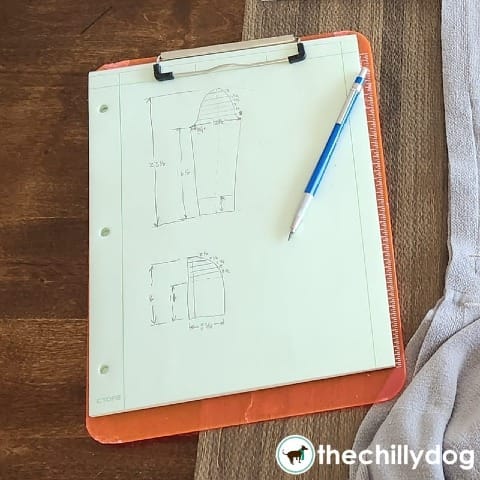
Next the sleeves. The left sleeve is the same as the right sleeve, so I'll only sketch and measure one of them. It would be great if I could unfold the sleeve and lay it flat, but that's not possible, so I fold it in half and double the widths.
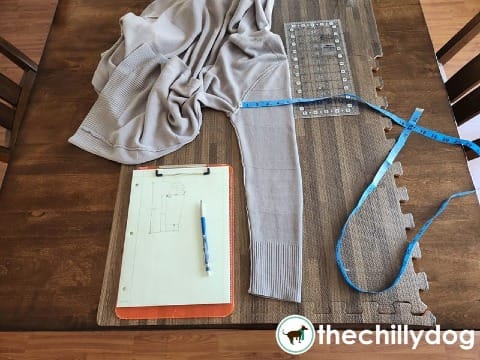
This time, I do pay more attention to the curves at the sleeve cap (that's the part of the sleeve that sets into the armhole opening). I measure the width of the sleeve cap at one inch intervals and include it in my sketch.
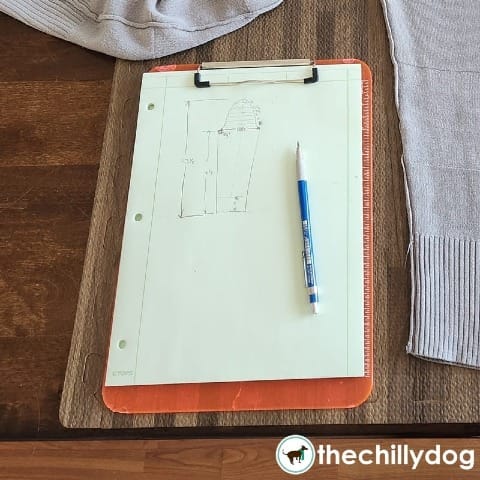
And finally I look at the hood. It's made in two symmetric pieces so I only sketch and measure one. Since the hood is a pretty basic shape, I also looked at the curve at the top and make measurements across at one inch increments.
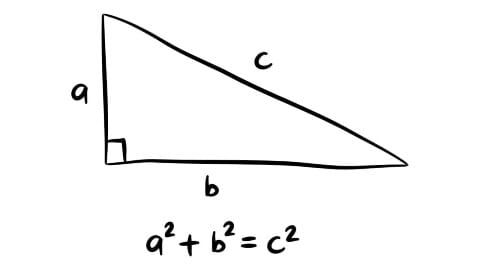
In the next step, I'll be revising and cleaning up my rough draft. Most of the math is elementary school arithmetic. However, I'll also be using one geometry formula, the Pythagorean theorem. Remember this?
If you're designing and knitting along with me and have any questions or concerns up to this point, leave a note in the comments.