Design it Yourself Sweater Project | Step 5

– 2 min read
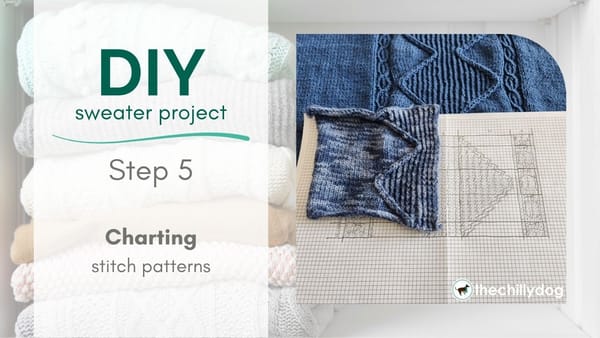
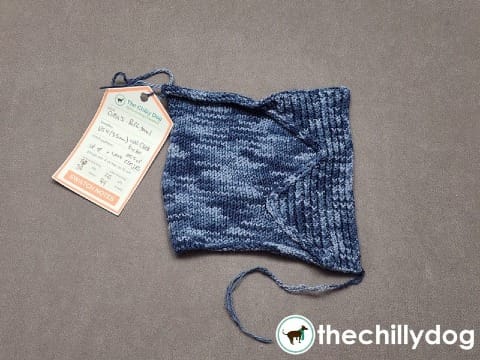
After swatching, I was able to make decisions about the yarn I'll be using for my sweater as well as the most of the stitch pattern. Before I start making my sweater, I want to chart out the stitch pattern so I'll have something to follow as I knit.
The stitch pattern I swatched will look nice on the front of my cardigan. The twisted rib along the side will make a neat "button band" (I won't actually be adding buttons, though). Mirrored, this motif will also go up the center back of my sweater.
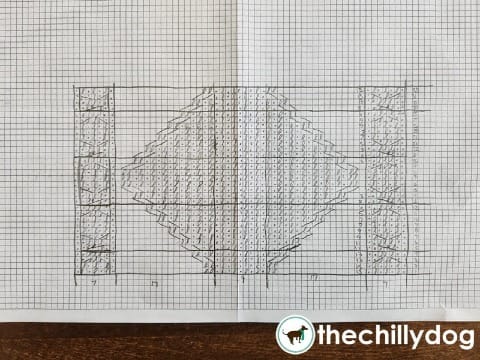
Comparing the width of my swatch to the desired width of my sweater, makes me think I may need one more element, a narrow cable perhaps, to divide the motif from the plain stockinette stitch.
I chart the first part of the pattern, mirroring it for the sweater back.
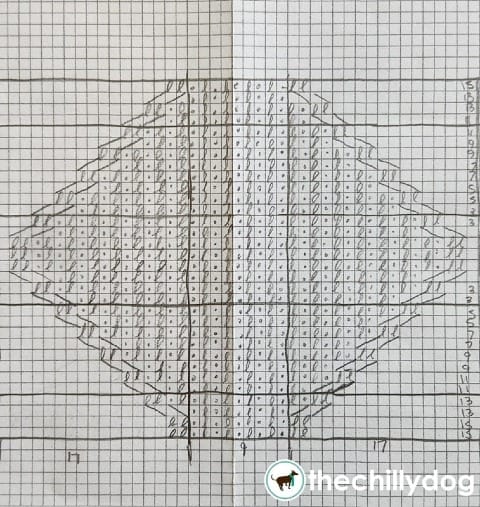
I wish I could say I invented a suitable companion cable, but as for the central part of the pattern (modified from a motif found in "250 Japanese Knitting Stitches: The Original Pattern Bible" by Hitomi Shida), I referred to my stitch dictionaries. I found a nice cable called String of Pearls in "Vogue Knitting Stitchionary 2" that's worked over 7 sts and 8 rows. It should add just enough interest and width to the patterned portions of my sweater.
I would like to note that I didn't initially swatch the String of Pearls and regretted it very quickly. If I had swatched, I would have realized there was an error in the book. GASP! The charted pattern did not match the photograph of the cable.
SPOILER ALERT - I made that discovery after knitting a few rows of my sweater which led to me ripping out almost 30 rows of knitting and re-charting the pattern correctly. Oops!
Now that I've swatched and my stitch pattern is charted, I'm going to go back to my schematics and estimate how much yarn I will need to knit my sweater.
Yarn and needle support provided by