Design it Yourself Sweater Project | Step 10

– 3 min read
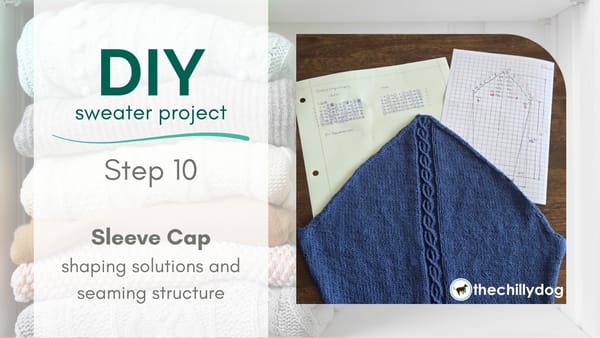
The one component of sweater design and knitting that concerns me most is the sleeve cap shaping. Since I'm not an especially curvy girl, every other piece of my sweater could practically be rectangular and I'd still have a decent fitting garment. But setting a sleeve cap into an armhole requires a certain amount of precision. Or does it?
Now I'll admit, after my first attempt at sketching my sweater pieces to scale I wasn't entirely satisfied with the way the sleeve caps looked. I ended up (probably needlessly) plugging my sleeve cap shaping measurements into a spreadsheet and tweaking them a bit before I began knitting the sleeves.
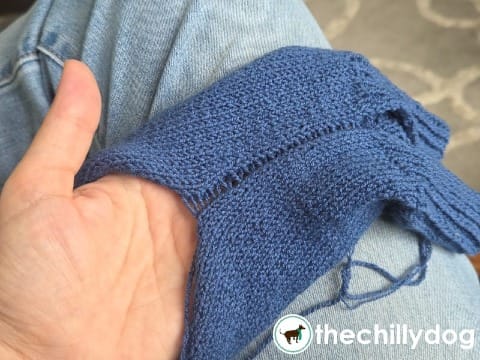
As with the back and front pieces of my sweater, I used my sleeve sketch to convert the measurements into stitches and rows before I began knitting. To make things easier (and avoid getting stranded on sleeve island) I chose to knit both sleeves at the same time to ensure I would work the shaping increases/decreases in exactly the same row on each sleeve.
I used evenly spaced increases to shape the arm. Easy peasy. Then I got to the sleeve caps. At this point things weren't quite so easy. The sleeve cap for my sweater is supposed to be more rounded and I couldn't mentally visualize which rows should be decrease rows.
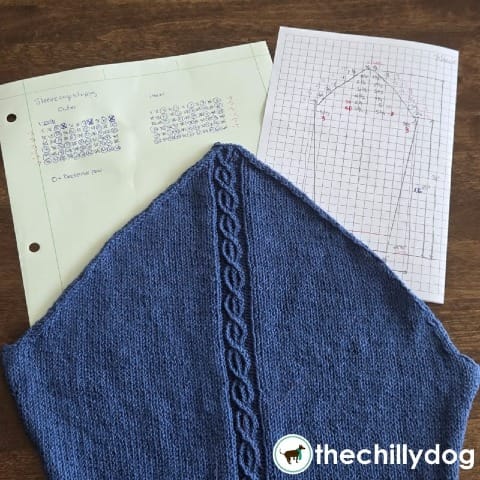
I am very much a visual learner and the older I get I realize I am becoming a visual problem solver, too. From my sketch, I know the sleeve cap shaping happens over 6 inches or 66 rows, and I know how many stitchess are decreased per inch on each side of the cap. The easiest way for me to determine which rows should be decrease rows was to just count it out on a piece of paper.
For both the inner (front) and outer (back) part of the sleeve cap I wrote out an inch worth of rows numbers (1, 2, 3, 4, 5, 6, 7, 8, 9, 10, 11) times 6 inches. Then I noted in red how many stitches needed to be decreased in a one inch or 11 row section. Suddenly it was easier to just "see" how to distribute the decreases on each side of the sleeve cap.
After my sleeves were knit I blocked them. Since I'm using CoBaSi by HiKoo yarn, which is cotton, bamboo, nylon and silk, blocking just means machine washing and drying the pieces.
As I approached the sleeve cap I had a momentary panic attack.
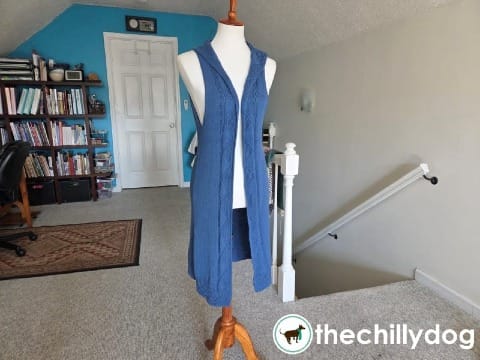
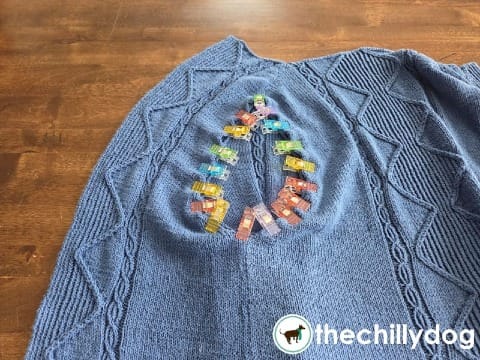
After placing the sleeves my sweater still look slightly odd around the neckline, but it fits me well. On to the hood knitting and soon I'll show you my finished sweater.
Yarn and needle support provided by