Design it Yourself Sweater Project | Step 11

– 4 min read
Whew... I had a self-imposed deadline in mind when I started this sweater at the beginning of the year and I'm going to meet it! All I have left to do is knit and attach the hood and settle on whether or not I need to add any sort of closure besides a shawl pin. Let's take it from the top.
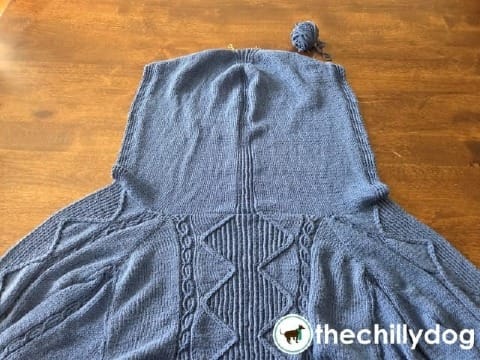
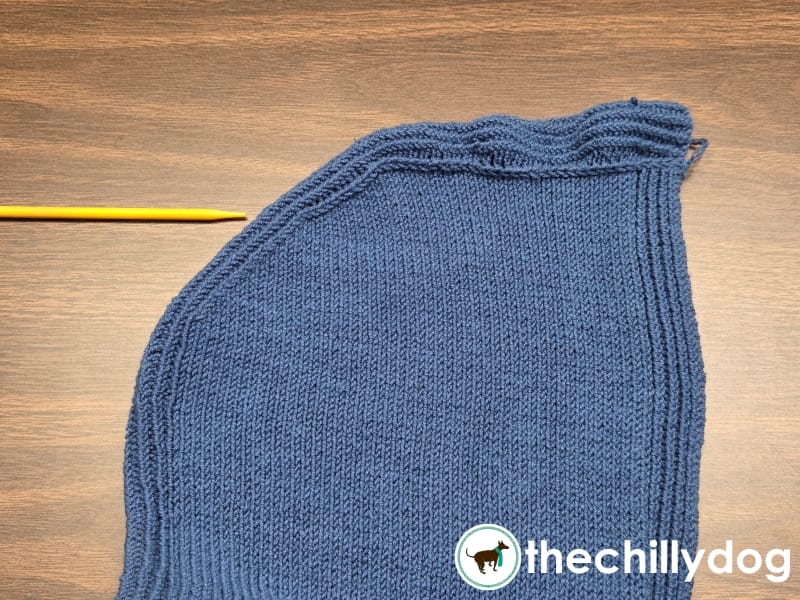
This is my first time knitting a hood. My original intention was to knit the hood as a single separate piece, then attach it to the sweater.
Joining will not add much structural support to the piece as it would connect beginning and end edges of fabric (the cast on edge of the hood and the bound off edge of the sweater body), not side edges. Also, the join will be visible around the neck when the hood is not in use. Picking up stitches along the neckline to knit the hood seems like a more logical approach unless I want to incorporate some sort of neckband. Since I'm running out of time I opt for the more direct approach.
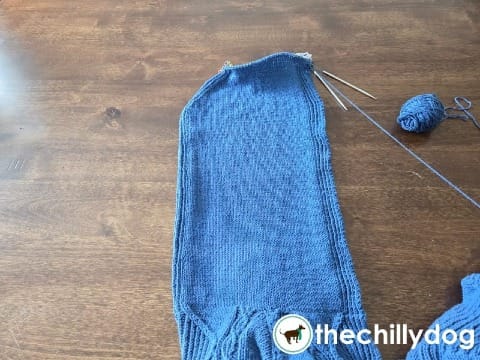
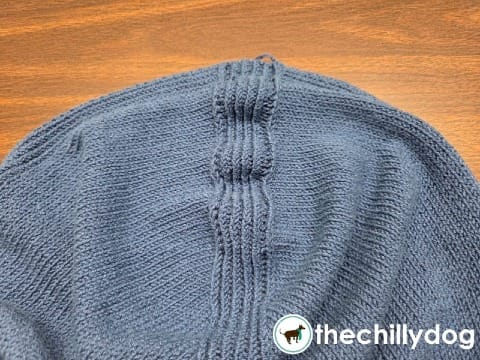
To shape the top of the hood I worked decreases along either side of the center ribbing. Then I make steeper decreases. So far I'm happy with the way everything is working out.
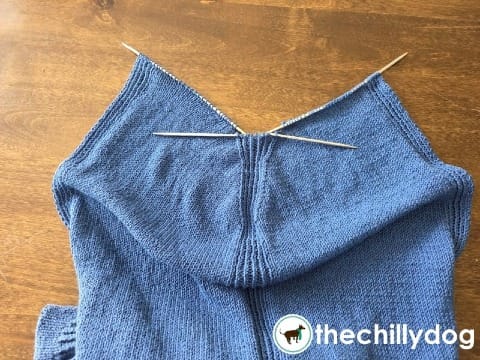
To close up the top of the hood I transfer my work to flexible DPNS so I can better see what's happening.
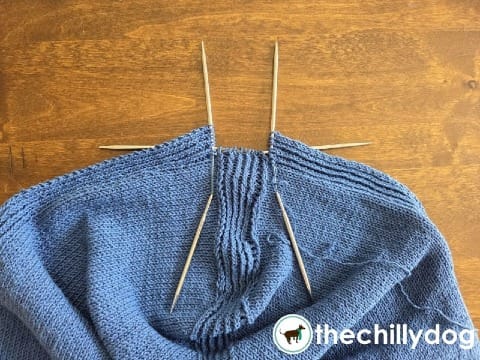
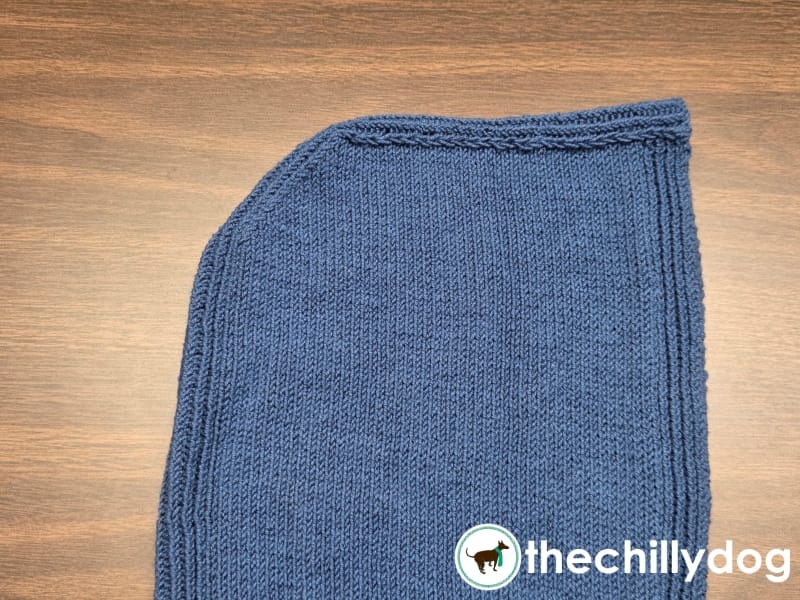
Left: I rip back the top joining and part of the shaping. Right: This time I decrease two stitches at the end of every row.
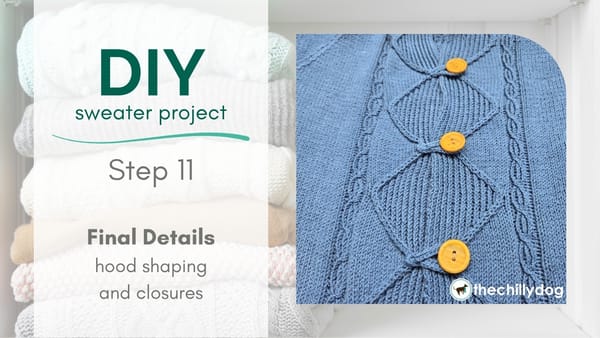
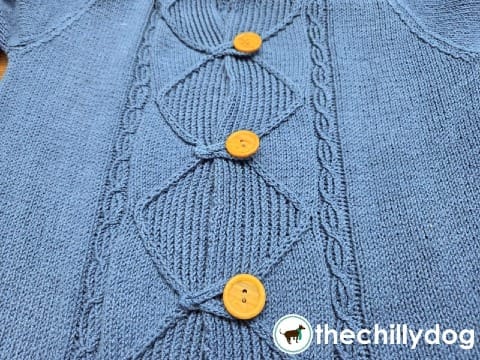
I never envisioned using buttons to close the front of my sweater. Usually when I wear cardigans I just leave the front open or perhaps use a pin or belt to close things up. However, when I tried the finished piece on, two things made me think at least a few buttons would be necessary.
First, the front doesn't hang completely straight. This is an intentionally long sweater. That length, my (minimal) curves, and the weight of the fabric makes the center flare at the bottom of the opening. Not flattering.
Second, It's hard to see how the understated motif at the center front is supposed to line up to form a bolder pattern unless a few of the diamonds are pulled together.
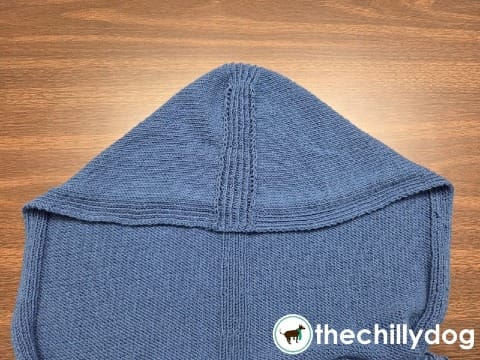
After a final wash and dry my sweater is ready to wear!
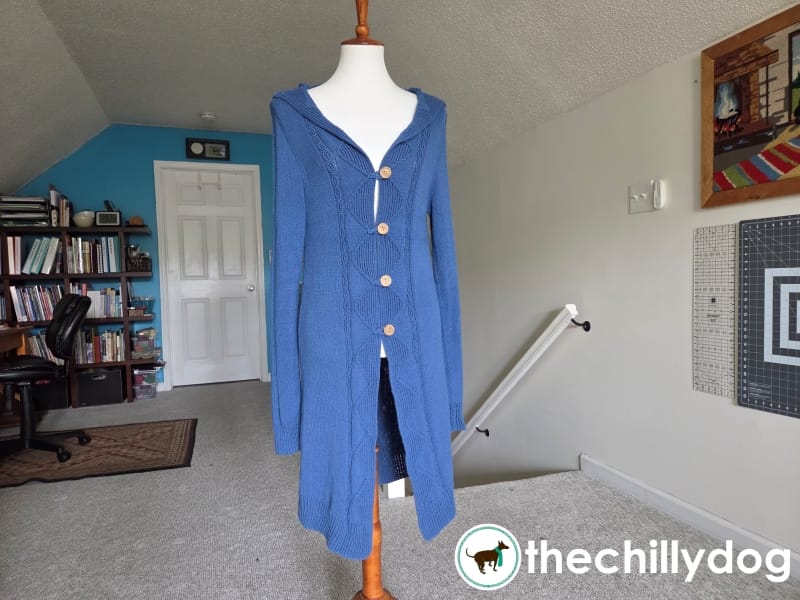
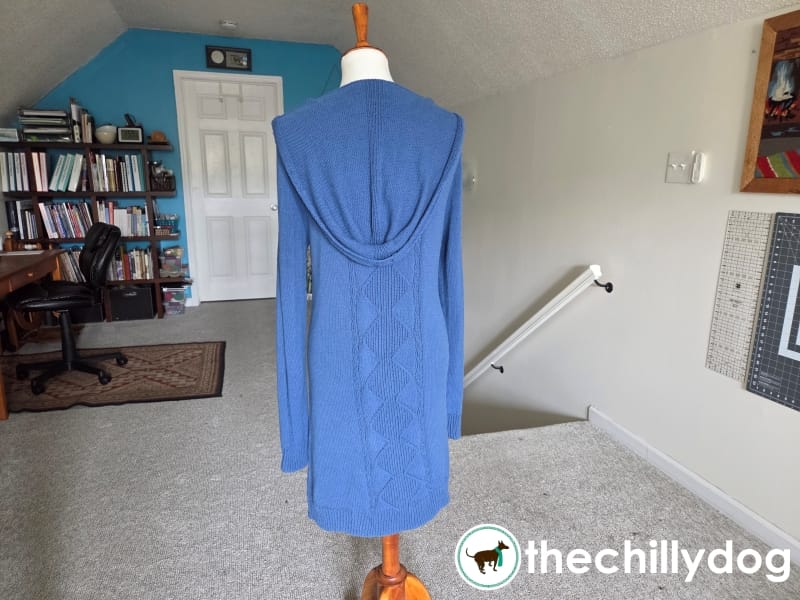
Although it's not exactly what I intended when I sketched out my original design, I'm quite pleased with the finished result and look forward to wearing my cool yet cozy sweater with everything.
Yarn and needle support provided by