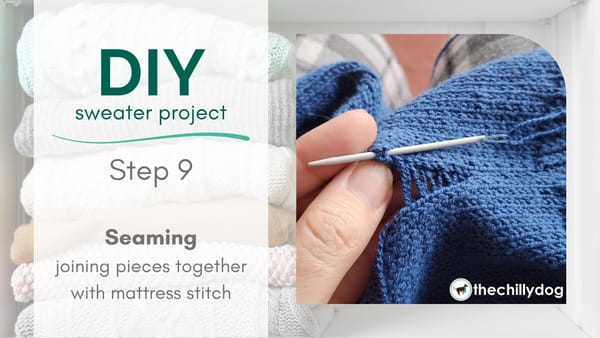
Design it Yourself Sweater Project | Step 9

– 4 min read
I've finished knitting the back and fronts of my sweater. Usually I wait until all of my pieces are knit before I start joining things together. However, I need a break from knitting, so I'm going to go ahead and seam my finished pieces together before I pick up my knitting needles again.
I like to block my pieces before I seam them together. Blocking helps get the pieces into shape and can minimize edge rolling, making it easier for me to get everything to line up properly.
And remember, blocking isn't anything difficult or mysterious. It's just washing and drying the pieces in the same manner I will be washing and drying my finished garment. Since I'm using CoBaSi by HiKoo yarn (a blend of cotton, bamboo, elastic, and silk) I can machine wash and dry the pieces. I do like to take them out of the dryer when they are just slightly damp and lay them flat to get that last bit of curl out of the edges.
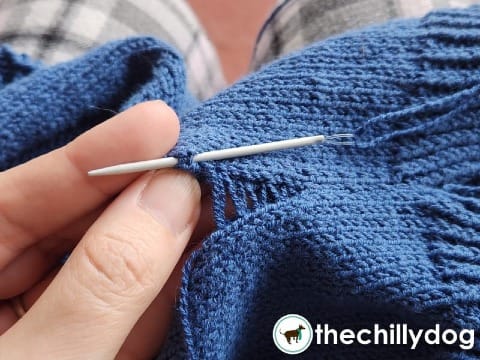
There are a few different ways you can sew the sides of knit pieces together, My two favorites are the back stitch and the mattress stitch. When my pieces have a complex, hard-to-read stitch pattern I usually opt for the back stitch. In this case, the edges of my sweater are plain stockinette stitch and I have really good stitch definition even though I am using a darker color yarn, so I go with mattress stitch.
As I begin joining one of the front pieces to the back I do the mattress stitch by-the-book, working up a column of stitches on each piece, going under one bar at a time. As I tighten up the first group of stitches I remember I'm using sock weight yarn and there are over 300 rows between the bottom edge of my sweater and the beginning of the armhole shaping. Wowza! That will be a lot of mattress stitching.
I pull the yarn all the way through and my pieces gently separate. I wonder what the seam would look and feel like if I work under two bars on each side instead of one.
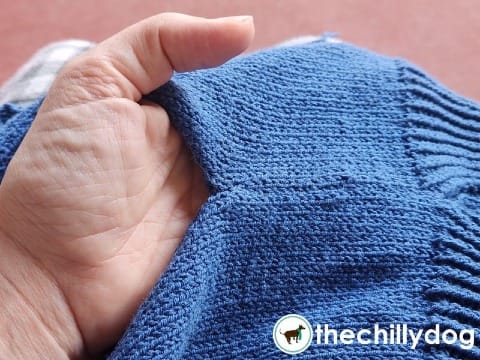
It may not be an option every time I mattress stitch, but for this sweater, with this yarn and gauge, working under two bars yields an acceptable result. That is how I'll seam all the side edges of my sweater.
As I continue to sew up the first side I notice something else and give myself a little pat on the back. When I knit the fronts and back I tapered the sides slightly with shaping decreases. I cleverly placed those decreases two stitches away from the edge.
The first column of edge stitches aren't exactly flat. They tend to roll to the back. So as I mattress stitch, I work up the second column of stitches which is a straight, easy-to-see column. My shaping decreases, are in the third column.
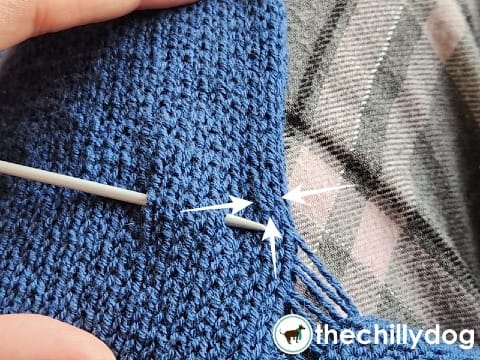
Had I made my decreases one stitch from the edge instead of two, I may have had trouble getting my pieces to line up properly, especially since there are a different number of decreases on the front pieces than the back piece. Luckily, I can ignore the weirdness in the third column and travel up the nice, neat second column as I join my pieces together. Yay!
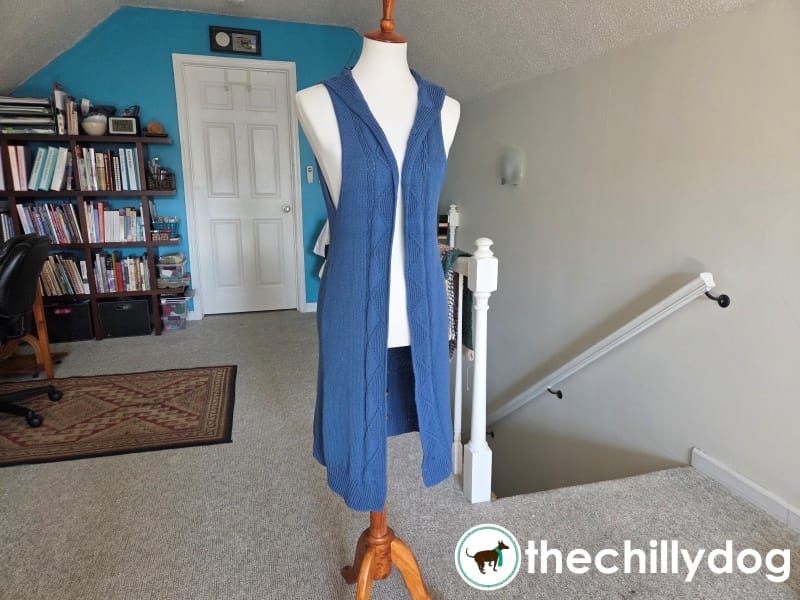
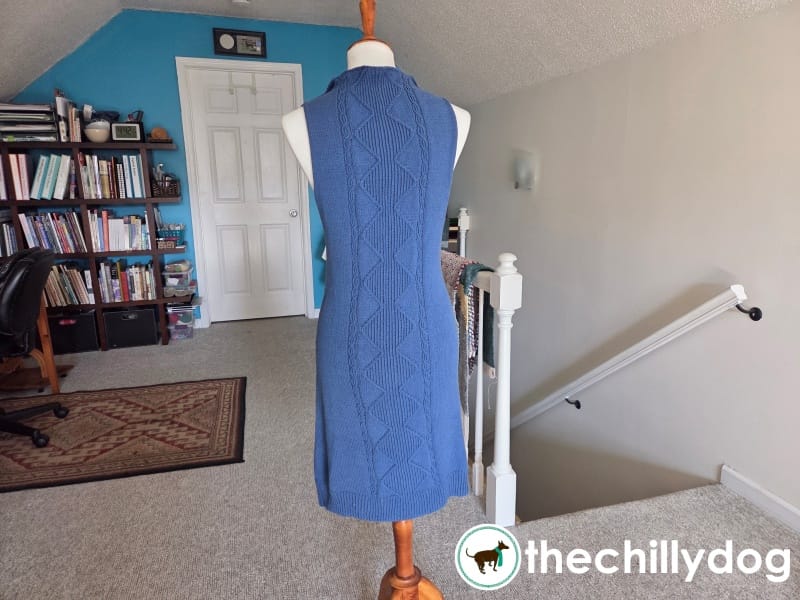
Now everything is coming together. The fronts are joined to the back. The bulk of my knitting is complete. I just have the sleeves, which I will knit at the same time, and the hood.
Yarn and needle support provided by