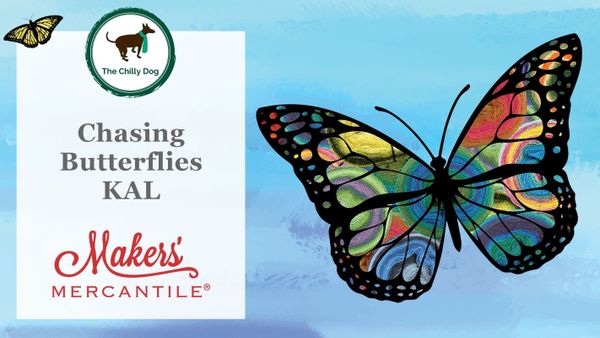
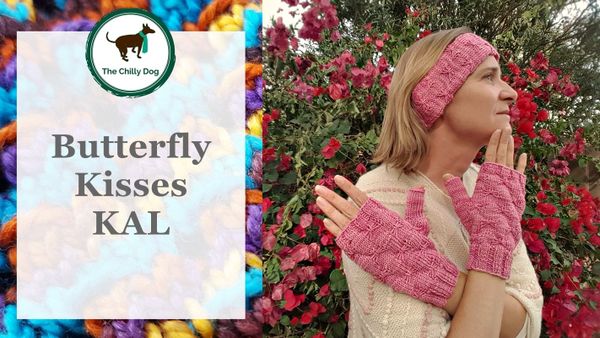
Butterfly Kisses KAL | 7 Lesson Series
Learn to knit an earwarmer and layering mitts set.

– 3 min read
Learn to knit an earwarmer and layering mitts set.
The Butterfly Kisses KAL may be over, but the pattern and instructional resources are still available for your knitting pleasure. Knit it on your own or gather with a group of friends to encourage and support each other as you work.
Pattern: Butterfly Kisses
Featured Yarn: HiKoo Sueño Tonal
Featured Needles: skacel by addi Bamboo Double Point Needles
Lesson 1: Provisional Cast On in the Round
It's time to begin knitting our Butterfly Kisses earwarmer and we're going to start with a provisional cast on.
A provisional cast on is a technique that's used when you want to graft stitches from the cast on edge of a knit piece with other live stitches. The join blends in to your knitting and is barely noticeable. Typically this cast on is used for pieces that are worked flat, back and forth in rows, on projects like infinity scarves, but it can also be worked in the round.
The provisional cast on works nicely for projects like this tubular ear warmer where the cast on edge is joined with the final round of stitches.
Lesson 2: Kitchener Grafting in the Round
Our Butterfly Kisses earwarmer is knit and now it's time to join the ends together with a technique known as Kitchener grafting.
In knitting, the Kitchener stitch is used to join live stitches (stitches that are on your knitting needles) from two pieces of work or two ends of your work together. The Kitchener stitch is most commonly used to graft together sock toes, but it is also a very neat way to join tubular pieces like our earwarmer.
Kitchener grafting, especially in the round takes a some patience, but the result is well worth the effort.
Lesson 3: Long Tail Cast On in the Round
Now that our earwarmer is complete, let me show you how to do the long tail cast on in the round so we can start knitting our mitts.
The long tail cast on is one of my favorite, all-purpose cast on methods. The only problem I have found with this technique is that when it is worked in the round you can get a funny little gap where the cast on stitches join together. Luckily, it's easy to avoid this gap.
Lesson 4: Thumb Gusset Shaping
Now that the cuff of our mitt is complete, let me show you how to knit the thumb gusset.
The thumb gusset on a mitten (or glove) is simply an area on the side of the mitt where you are increasing the number of stitches in order to make a shaped thumb hole.
Lesson 5: Finishing a Thumb Gusset
Now that we have shaped our thumb gusset, it's time to finish the hand of our mitts.
After the gusset of a mitten or glove is completed, you have to do two things before working the remainder of the hand. First, all of the gusset stitches need to be held on a stitch holder or piece of waste yarn. Then you need to cast on a single stitch so no gap is created in the space where the gusset stitches were worked.
Lesson 6: Binding Off in the Round
Now, you are ready to finish knitting the top part of the hand. I had planned on teaching you a stretchy bind off, but found that a traditional bind off works nicely for these mitts. Even if you know how to do a traditional bind off, watch this mini lesson for tips on working it in the round. There's a really cool trick at the end that you won't want to miss.
Lesson 7: Picking Up Thumb Stitches
After a month of knitting and learning new skills, it's time to finish our mitts and knit the thumb.
Some people feel like they are all thumbs when it comes to knitting the thumb of a mitten or glove. This tiny section of work is often prone to gaps and holes unless you properly pick up stitches across the gap at the hand.
Yarn and needle support provided by