Search the site

Grammy's NEW Favorite Potholder
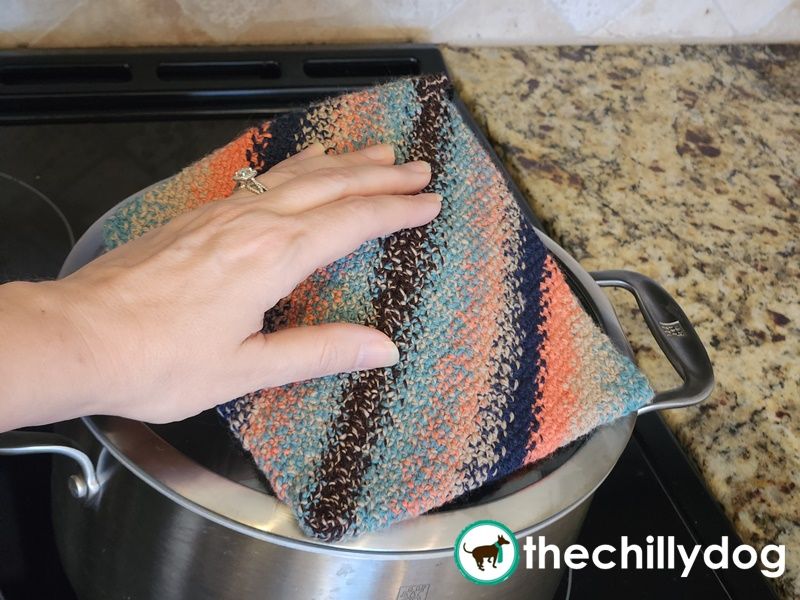
Grammy's NEW Favorite Potholder
An easy to knit kitchen staple.

I have to thank my wonderful mother-in-law for providing the inspiration for this project! Years ago she sent me one of her favorite, handmade, cotton potholders. Hers was crocheted, likely by some lovely friend or family member. The pretty stripes and simple, double-layer design inspired me to create my own knit version.

Don't blink, because the stitch pattern for this one is an easy linen stitch worked in the round.

🧶
A word about flammability... Cotton yarns are durable and washable, but not fire resistant like 100% wool. (See Grammy's Former Favorite Potholder.)

Materials

  • worsted weight 100% wool (non-superwash)
  • 20-inch long US size 6 (4.0 mm) circular needle
  • locking stitch marker
  • yarn needle

Note: I used leftover, handspun, merino wool yarn and my needles were a couple sizes smaller than I would normally use for this weight of yarn. This allowed me to create a very dense fabric.

Gauge

24 sts and 36 rnds = 4 inches in linen stitch

Finished Dimensions

approximately 7 inches square

Abbreviations

co - cast on
k - knit
sl - slip
yf - yarn to the front
yb - yarn to the back

Directions

CO 119 sts leaving a long tail that will be used for joining later.

Optional: You can use a stitch marker to mark the end of the round, but later when you lay your tube flat, with the cast on yarn tail on the side, it's pretty easy to see where the end of the round is located. Also, you can customize the finished size by casting on any odd number of sts.

Working in the round, [k1, yf, sl 1, yb] repeat until the tube is half as tall as it is wide.

My tube was about 10 inches wide, so I knit until it was 5 inches long.

Clip a locking stitch marker halfway across tube so that you will knit 1/4 of a round to reach it.

My stitch marker happened to be about 30 sts away from the end of round. That's about 1/4 of the original 119 sts.

Knit 1/4 of the round to the stitch marker and remove the marker. Bind off all stitches leaving a long tail for joining.

Notice that the yarn tails are offset by 1/4 of a round.

Use the cast on yarn tail to close the cast on opening.

A simple whipstitch works just fine to close the cast on edge.

Grasp the top layer of the tube at the center of the bound off edge and open the tube until it lays flat.

Like magic, the cast on and bound off edges form perpendicular diagonals on the front and back of the potholder.

Use the bind off yarn tail to close the bound off opening.

Again, a simple whipstitch works fine.

Trim the yarn tails to about 2-3 inches and use a yarn needle to pull them into the center of the potholder.

Of course, always make sure to be careful when you are using potholders and working around hot pans and dishes in the kitchen. You don't want to burn yourself.


There's more to explore in the Learning Library!